Para comprar tus sellos Latina Crafter visita nuestra tienda AQUÍ
Mostrando entradas con la etiqueta justyolie. Mostrar todas las entradas

jueves, 2 de junio de 2016

Yolie's DIY Table

Latina Crafter's 5th Anniversary is this month! So today, I am sharing a the perfect card for the occasion.

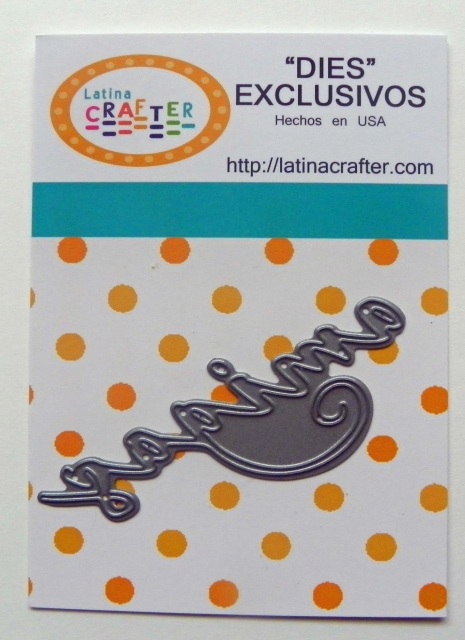
I used Latina Crafter's Viewfinder die, "celebra" die and Craftwell's dotted chevron embossing folder.  Everything cut and embossed with, you guessed it, the Cut N Boss.


Let's chat about the paper for a minute.  I received a box of catalogs not to long ago and this sheet was at the bottom of the box, printer's color box.  Of course I couldn't just toss it out.  I knew I had to create with it and so it was perfect for my "celebra" card.  I trimmed it to fit the card base and then embossed it with the dotted chevron.  Simple as that.
I cut 2 "celebra" words to create a shadow so the yellow can pop.


I cut a blue circle for the viewfinder's background and embellished the card with enamel dots.  Such a fun and happy card! I love how it turned out.

Latina Crafter is currently celebrating their 5th anniversary and their shop is on vacation.  They are offering a 20% discount while they are away.  The offer is valid through June 13th.  Here is the discount code:  SUMMER2016


jueves, 5 de mayo de 2016

Cinco de Mayo Blog Hop

Welcome and Happy Cinco de Mayo!  We are so excited to be part of this special day to celebrate the Mexican Culture.

If you're arriving from Ruby's blog you're right on track.  If you want to start from the beginning, please start at Craftwell's blog.

We won't keep you long so here are the Cinco de Mayo treat bags.

I used the eBrush to add color to white doilies using Sharpies.


I then cut the word "Celebra = Celebrate" and the ticket dies on the Cut N' Boss.  The kraft bags needed a little something so I embossed them to add texture.

Here is the topper of the bag, the eBrushed doilies look fantastic!  I punched a scallop circle to layer the ticket and "celebra".  I then embellished with a few sequins.

Oh so festive!  I fussy cut the piñatas from Sabor's Ole collection.  I then trimmed the candy border form their pattern paper and added tassel ribbon.

The twine was an afterthought and I love how it turned out.

If you want to enter for a chance to win a $25 gift card to our store, please leave a message and tell us your favorite part about Yolie's project!! Winner will be announced next week.


Your next stop is Barbara's blog.

lunes, 18 de abril de 2016

Yolie's Workshop: DIY Notebook

Confession, I have a little addiction to stationery, specifically notebooks.  I have stacks of notebooks I purchase simply because they are so cute!  Raise your hand if you have the same addiction.

I created a mini notebook for a friend.  I used pattern paper from DCWV Quince Blossom, Latina Crafter dies and stamps. 

Using Latina Crafter's 4"x6" journaling dies, I took 4 sheets of copy paper, folded in half and ran it through the Cut N Boss.  I did this several times until I had a decent amount of pages for the notebook.
I then punched the pages with the Cinch binding system.


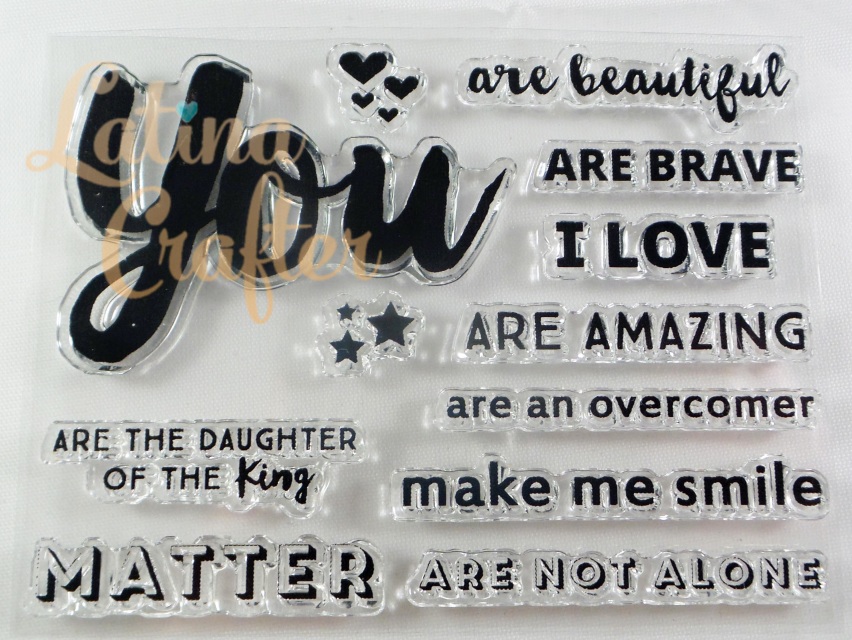
I stamped the library card with Latina Crafter's You stamps set from the Be a Blessing line, die cut the word "amigas" trimmed the 's' and adhered the elements to the front cover.  I glued the buttons and the mini notebook is complete.

Thank you for joining me today.
Yolie


PRODUCTS USED:

viernes, 4 de diciembre de 2015

Usando stencils con YOLIE: Proyecto de navidad!!

Hello this is Yolie, I have a quick project to share with you today.  I made a couple of bag/envelopes:
You will need Christmas paper, thinner weight paper works best.  I used the star stencil from July's Kit, ribbon, embellishments, silver metallic Sharpie and the eBrush. You can use spray mists if you don't own the eBrush.


The stencil was smaller than the bag, so I masked of the bottom and side.  I also tucked a piece of scrap paper in the envelope to cover the inside of the envelope.


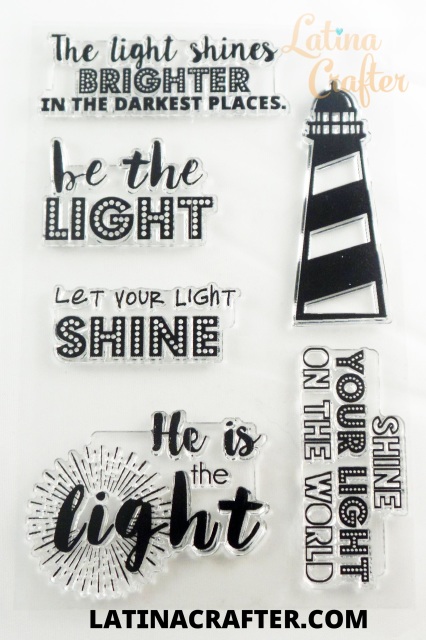
I stamped the sentiment, "May your light shine bright this Christmas" by Latina Crafter with Delicata Silvery Shimmery pigment ink.  The photos don't do it justice.


Here are additional photos.


I hope you enjoyed my project today.  Thank you for stopping by today.

jueves, 15 de octubre de 2015

Let your light shine and Be the light


This week, Latina Crafter released a new line of stamps, Be a Blessing for Bible Art Journaling.  I had the privileged to create in my Bible with the stamp set Be the Light

I have seen the beautiful Bible Journaling pages in my Instagram feed and thought, I wouldn't be able to create in my Bible, but after watching Rebekah R. Jones' amazing Bible journaling tutorials, I had a second thought, but even then I didn't start.  It wasn't until I watched a video of a TV personality, sharing the story of her late husband's Bible.  A Bible that was passed onto him by his mother.  In there she journaled the hardships they experienced during the Great Depression.  I was moved to tears.  I knew right at that moment, I wanted to start journaling in my Bible.

And so here I am sharing one of my pages with you.  I have learned plenty of tips from watching Rebekah's tutorials.  If this is new for you and it's something you would like to start, I highly recommend you start watching her tutorials.  She has a weekly Bible verse challenge that include different art mediums you can use.  Not only does provide art tutorials but also delivers a beautiful study on that week's scripture.

Today I am sharing my page from Rebekah's Week 30 Challenge, Mathew 5: 14-16
14 “You are the light of the world. A city set on a hill cannot be hidden. 15 Nor do people light a lamp and put it under a basket, but on a stand, and it gives light to all in the house. 16 In the same way, let your light shine before others, so that they may see your good works and give glory to your Father who is in heaven.


In addition to the supplies in the photo, I used Latina Crafter's Classic ABC stamp set, Let Your Light Shine stencil, clear Wink of Stella and washi tape.


Start by protecting the pages before and behind the page you plan to journal on.  Apply a  thin layer of the Matte Gel with a sponge brush.  Keeping your heat gun at a safe distance, dry the front and back of your page.  Passing the heat gun on the backside helps with the wrinkles.


Instead of coloring pencils as stated in Week 30 Challenge, I used my eBrush to cover my page.  Please use what you have.  If you have watercolors, acrylics, color pencils use them.
I used a yellow Sharpie with my eBrush I sprayed the whole page using the first setting on the machine.   I then used the eBrush on the third setting to spray the top portion of the page, as that is where I will be stamping and adding light to the page.

On the third photo, I flipped the page so you can see there is no color bleeding on the page.


I heat embossed the sayings and the lighthouse with gold and shimmer gold embossing powders.  I then secured the sunburst stencil and the page with washi tape and went over it with clear Wink of Stella.


Here you can see the shimmer of the Wink of Stella on the light burst.


And here is my full page.  I have added my personal thoughts after I took my photos.  I hope you enjoyed the my tutorial.


Thank you for joining me today.
Blessings,

martes, 22 de septiembre de 2015

El Taller de Yolie: Libreta de apuntes

Hoy estoy compartiendo una mini libreta de apuntes. Sencilla y fácil de hacer. Me encanta papelería especialmente libretasTengo suficiente papel bastante para hacer mi propia y así lo hiceRecorte uno de los cartas de 4x 6" cartas de una hoja de 12" x 12" y use el sello de la escritura "Bástate mi gracia".


Si usted no tiene "The Cinch", puede utilice una perforadora estándar y utilizar yute o twine para atar su libreta. Hay un montón de tutoriales e inspiración en PinterestCorté el papel blanco, para encajar la tapa junto con cartulina y estampé el sentimiento en tinta verde.


Aquí está mi mini 4 "x6" libreta de apuntes:


Gracias por visitar.


martes, 18 de agosto de 2015

Desde el taller de Yolie: Simplemente TÚ


Bienvenidas a otra fabuloso martes.
Este sello es uno de mis favoritos. Fue del lanzamiento de junio, Siempre


Quería que el sentimiento se destacar así que fui con tonos grises y estampe el sentimiento en negro. He utilizado un mini marco para acentuar aún más.   Quería un poco de textura, así que "embossed" la base.  El hilo con brillo es el toque final perfecto.


Gracias por visitar.

martes, 21 de julio de 2015

Desde el Taller de Yolie: Etiqueta de café

¡Feliz Martes! Hoy comparto una etiqueta fácil y rápida de decorar.  
 Happy Tuesday!  This is Yolie bringing you a quick and easy decorated tag.

Primero embosé la etiqueta con una carpeta con un "look" de madera, recogí algunas sobras y empecé con las capas. Estampé el sentimiento con el sello "May your coffee". Encontré el botóncito perfecto en mi canasta de scrap. También incluí un bitty button café.
 I first embossed the tag with a wood grain embossing folder, gathered up some scraps and started layering. I then stamped the sentiment using the "May your coffee" stamp set and adhered it to the tag.  I found the perfect green flower button in my craft basket.  I additionally included the coffee bitty button
Y ahí lo tienen, una manera sencilla y rápida para arreglar una bolsa de regalo. Entonces, ¿qué hay en la bolsa te preguntarás? Una taza de café y café, por supuesto.
Gracias por su visita hoy.


And there you have it, a simple and quick way to spruce up a gift bag.  So what's in the bag you ask? A coffee mug and coffee of course.

Thank you for visiting today.

martes, 16 de junio de 2015

Desde el Taller de Yolie: Celebrando a Papá

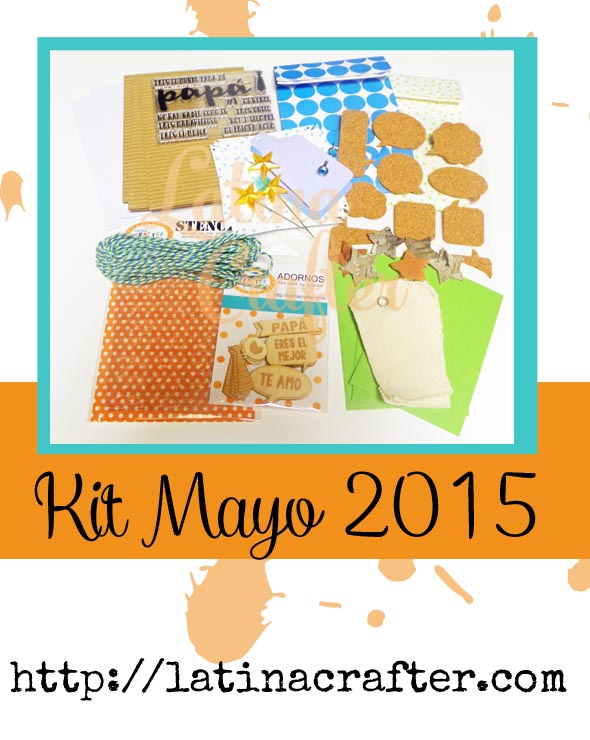
Feliz martes, hoy estoy compartiendo tarjeta para el Día del Padre usando el Kit de mayo.
Happy Tuesday, this is Yolie sharing a Father's Day card using the May Kit.

Utilicé la plantilla de gafascon "modeling paste" El kit tiene cuatro plantillas! Entonces yo estampé Papá y con cuidado la corté, omitiendo la "P" porque yo le llamo a mi papá "Apá". El corcho, el "wood veneer", etiqueta canvas, adornos estrella madera están incluidas en el kit.
I used the eyeglass stencil, one of the four stencils included in the kit, with blue modeling paste on the mini green bag.  I then stamped  Papá and carefully hand cut it, omitting the 'P' because I call my Dad "Apa".   The cork, wood veneer heart, canvas tag, wood star embellishments are included in the kit. 

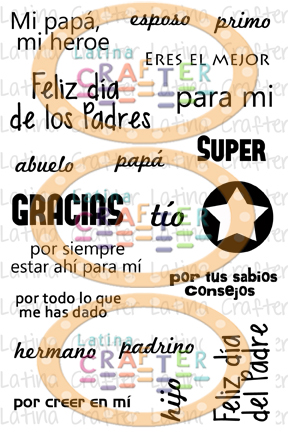
Estampé, Feliz Día del Padre en "cork", es del set Super Papá y no está incluido en el kit.
I stamped, Happy Father's Day on the cork speech bubble, it's from the Super Papá stamp set and it's not included in the kit. 

Gracias por visitar  y no te olvides de celebrar el hombre especial en tu vida este Día del Padre.
Thank you for visiting today and don't forget to celebrate the special guy in your life this Father's Day.


PRODUCTOS:

jueves, 23 de abril de 2015

Desde el Taller de Yolie: Día de la Madre


Día de la Madre es el 10 de mayo. Anotado en mi agenda hoy. También he completado la tarjeta de mi mamá y una bolsita de regalo.
Mother's Day is May 10th.  Jot it down on my planner today.  I also completed my Mom's card and mini gift bag.

El sentimiento del conjunto La mejor Madre sello.
Hice la tarjeta hace unas semanas, pero no permiti espacio para un sentimiento así que le quité una de las flores y agregué el sentimiento.


The sentiment from the La mejor Madre stamp set.
I made the card a few weeks ago, but I didn't allow space for a sentiment so I removed one of the flowers and added the sentiment.

Las flores son bellas, delicadas y que coordinan perfectamente con el papel
The flowers are beautiful, delicate and they coordinate perfectly with paper.  


Espero que mi mamá le guste su tarjeta y regalito.
I hope my Mom enjoys her card and gift.